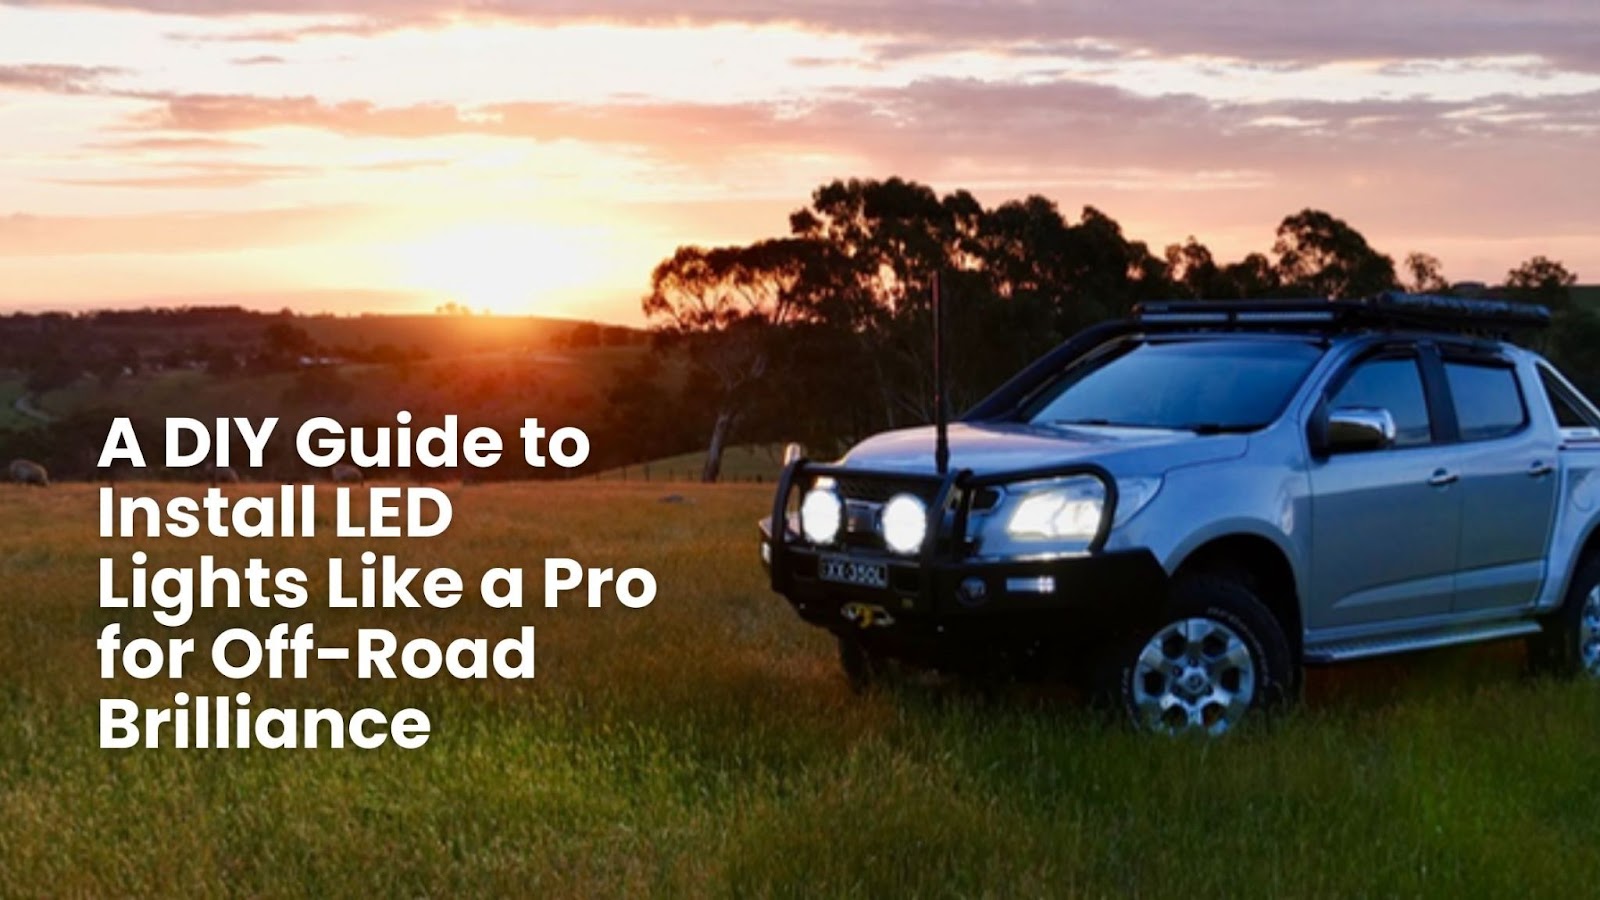
A DIY Guide to Install LED Lights Like a Pro for Off-Road Brilliance
When it comes to off-road adventures, having the right lights is a game-changer. And LED driving lights are like the leaders of brightness, saving the day with energy efficiency and durability. Now, I know the idea of installing these lights might seem a bit overwhelming but fear not! We've got a step-by-step DIY guide to help you light up the path ahead like a seasoned pro. Let's break it down into easy-to-follow steps and shine a light on some essential things to keep in mind.
1. Pick the Perfect LED Driving Lights for You
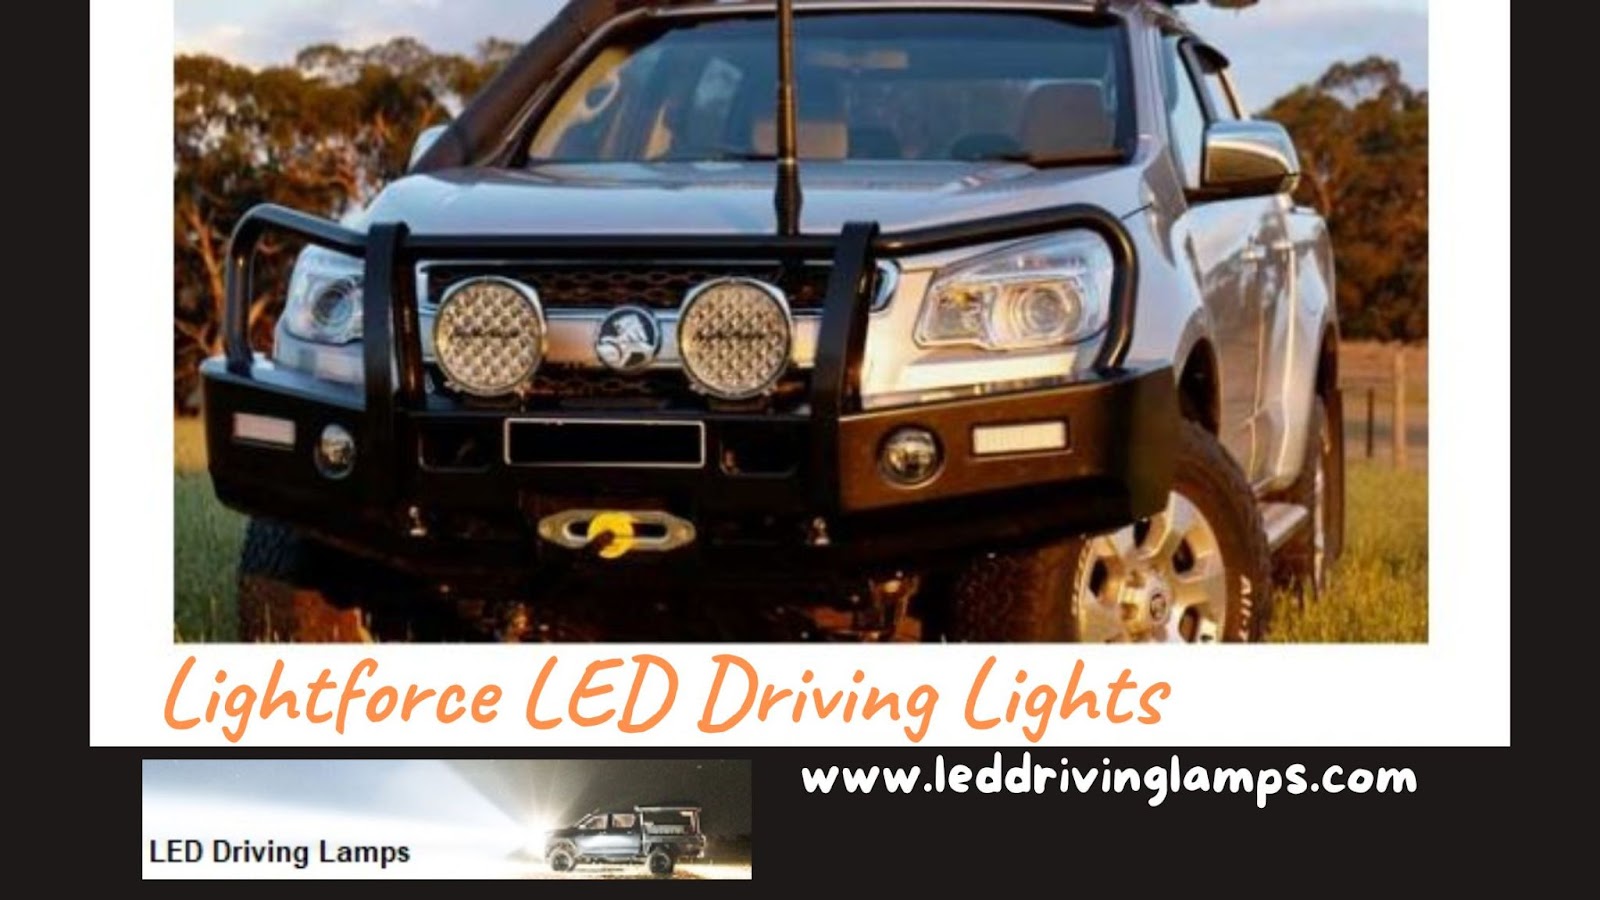
First things first – choose the right LED lights for your ride. Think about how bright you want them, the way the light spreads (beam pattern), and how tough they need to be. Brands like Lightforce LED Work Lights have a variety of options tailored to different off-road lighting needs. It's like picking the right shoes for your journey – one size doesn't fit all!
2. Get Your Tools and Stuff Together
Before you start the installation party, make sure you have all the tools and gear you need. You'll probably need a screwdriver, wire stripper, crimping tool, and the right wiring harness. Check the instructions that come with your LED driving lights to make sure you've got everything ready to roll.
3. Find the Best Spot to Mount Your Lights
Now, think about where you want to put these shining stars on your vehicle. Consider the angle of the light beams, your vehicle's design, and any rules about where lights should go. Good news – LED Work Lights from cool brands often come with mounting options that let you be the boss of where your lights go.
4. Connect the Wiring Like a Pro
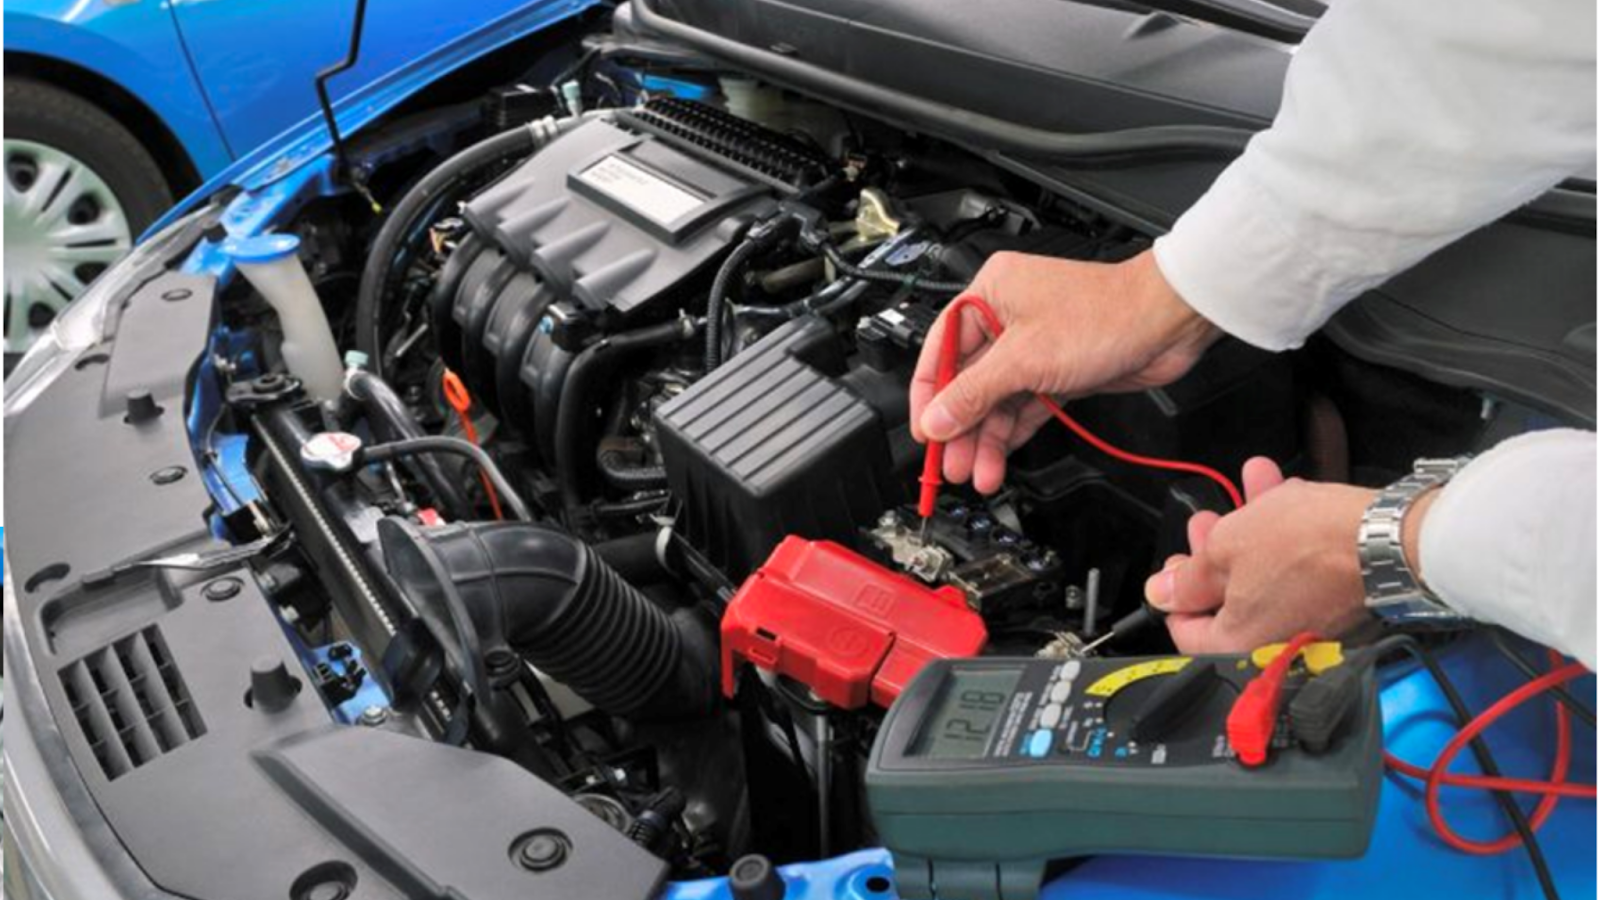
Follow the instructions that come with your LED driving lights to connect the wiring harness. It's like putting together a puzzle – make sure those wires are snug and secure. Tuck them away neatly so they don't cause trouble with other parts of your vehicle. Brands like Lightforce make it easy with user-friendly wiring systems, so no need to stress.
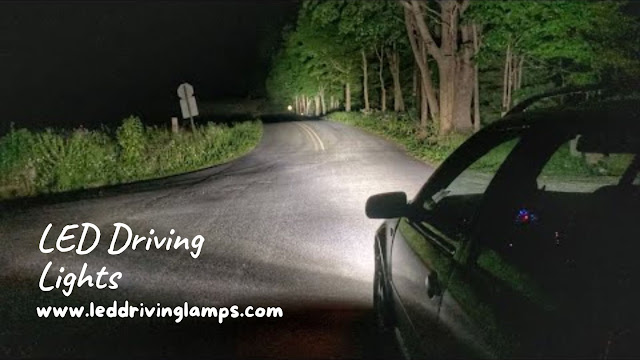
5. Aim and Set Up Your Lights
Once your lights are firmly in place, take a moment to aim and adjust them for the best view. You want those beams to light up your path without blinding others on the road. Precision is the name of the game when it comes to getting the most out of your LED driving lights.
6. Test and Make Any Final Tweaks
Before you hit the road, give your new LED driving lights a test run. Make sure they're doing their job and adjust them if needed. This step ensures your lights are ready to be your reliable sidekick during all your off-road adventures.
Adding LED Work Lights to your vehicle's lighting family boosts visibility and safety, especially when the going gets tough off the beaten path. Trustworthy brands like Lightforce are the go-to choice for enthusiasts looking for top-notch LED driving lights.

Conclusion
All set for a brighter driving experience? Discover LED Driving Lamps! Whether you're into off-road thrills or need better visibility on regular roads, our cutting-edge LED Lights have you covered. Shine with confidence on your next adventure and enhance your vision and safety. Don't miss out on upgrading your vehicle's lighting game – explore Lightforce today for a brighter driving experience! Illuminate your journey with LED Driving Lamps. Upgrade now and drive with confidence!

Comments
Post a Comment